

We've got you covered!
When your sink starts to leak, you need to know how to fix cabinet water damage. Extensive water damage to most cabinets will affect the appearance, impact the physical structure and leave you left wondering how in the world you can actually fix cabinet water damage.
Have no fear, in some instances, cabinet water damage caused by a leak can be fixed if it hasn't been prevented.
To get started, you’ll want to identify what type of water damage you’re dealing with. If you’re concerned with the bottoms of cabinets because of pooling water on your floor (typically from a burst pipe or leak that wasn’t caught immediately), then the first step is, of course, to remove the standing water as quickly as possible. The same is true if you have water actually inside your cabinets, which is the result of pipe leaks and other under sink issues. In both cases, removing the water and then drying the cabinets as quickly as possible is critical. You’ll also want to remove all items from your under-sink cabinet to help ensure you soak up all of the moisture you can. The only way to fix cabinet water damage and restore your kitchen or bathroom under sink cabinets is by drying the area as thoroughly as possible.
Once you’ve dried up as much water as you can with towels, the next practical step is removing your cabinet doors. While this might seem unnecessary, it’s really a smart thing to do because it reduces how the amount of stress on the wood. After removing all wet cabinet doors, you’ll want to find something to help dry out your cabinets more. The best options are dehumidifiers, but even things like fans and hair dryers can work in a pinch.
Once everything is dry and you’ve minimized as much damage as possible, the next step to fixing cabinet water damage is to assess the damage done. Take a good look at the damage done to your cabinets’ floors and doors. If there’s anything that definitely cannot be repaired, then make a note of it so that you know exactly what needs to be replaced. When possible, repair any damage you can before going to buy a replacement piece.
If you’re wanting to remove water stains, either from inside your cabinets or on the doors, one of the best things to use is oxalic acid. While you want to check your bottle for exact specifications, you’ll typically put about four ounces of oxalic acid into a quart of hot water to create the cleaning solution. Use a scrub brush to apply the solution while it’s still hot. The more you apply and scrub, the lighter the wood will get, so pay attention as you work to make sure you get the right result.
Another big problem when dealing with cabinet water damage is the smell that comes with it. Rather than masking the smell, try to get right to the cause by creating a mixture of bleach and water. This strong solution will work to kill any odors caused by the water damage, while also removing any potential mold or bacteria.
Depending on the extent of your cabinet water damage, you might have to refinish your cabinets completely. To do that, you’ll first need to strip any damaged surface. Always remember to wear rubber gloves and a mask when doing this work as the chemicals found in the stripper are strong.
To make sure you don’t damage any other surfaces, place your cabinet door on a drop cloth, or spread a drop cloth on your floor if necessary. Once you’ve applied your stripper with a paintbrush, wait fifteen minutes before starting to scrape. The key to doing this work is making sure that you’re scraping in the same direction as the grain. Before you finish by sanding your cabinets, be sure to let your cabinets dry for at least an hour or two.
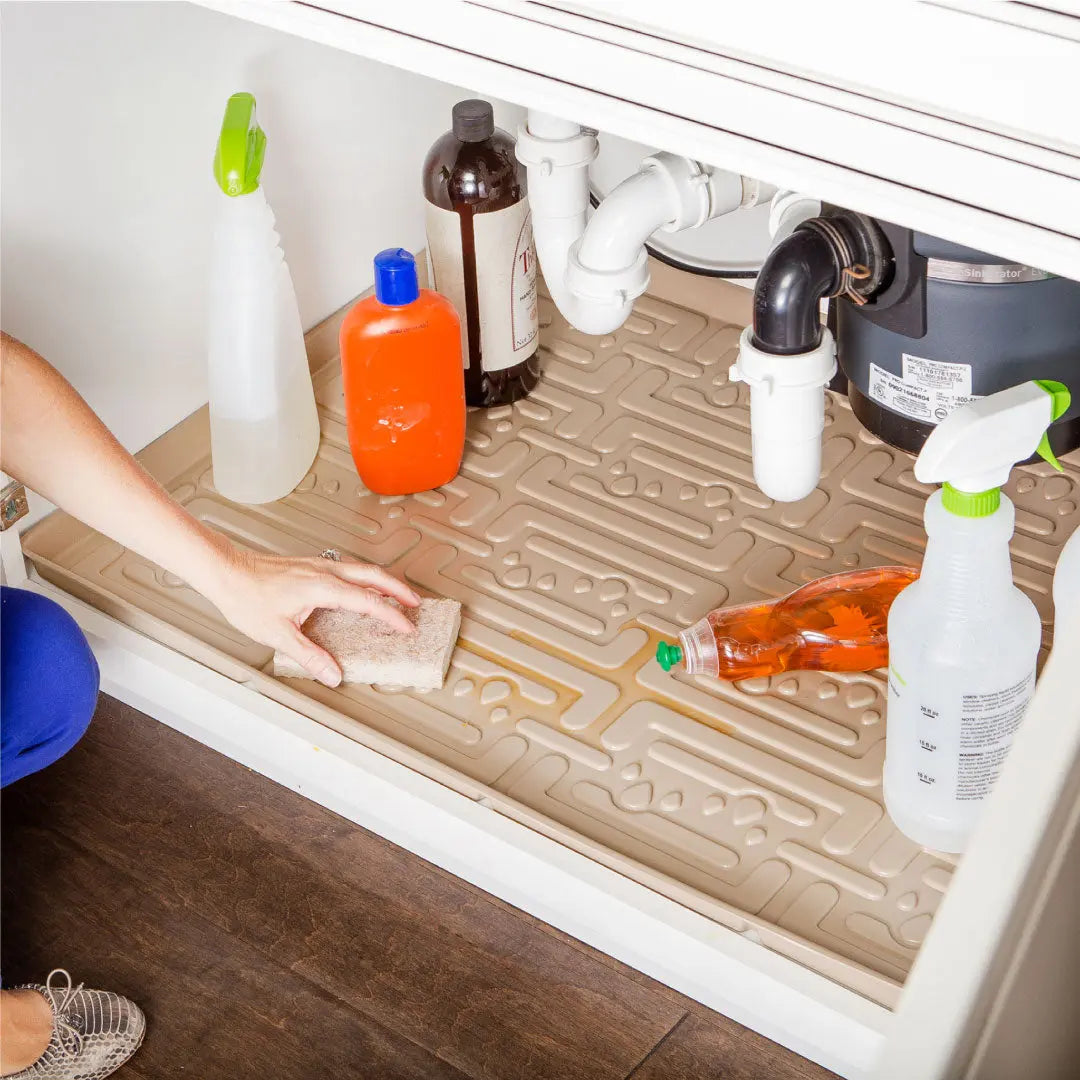
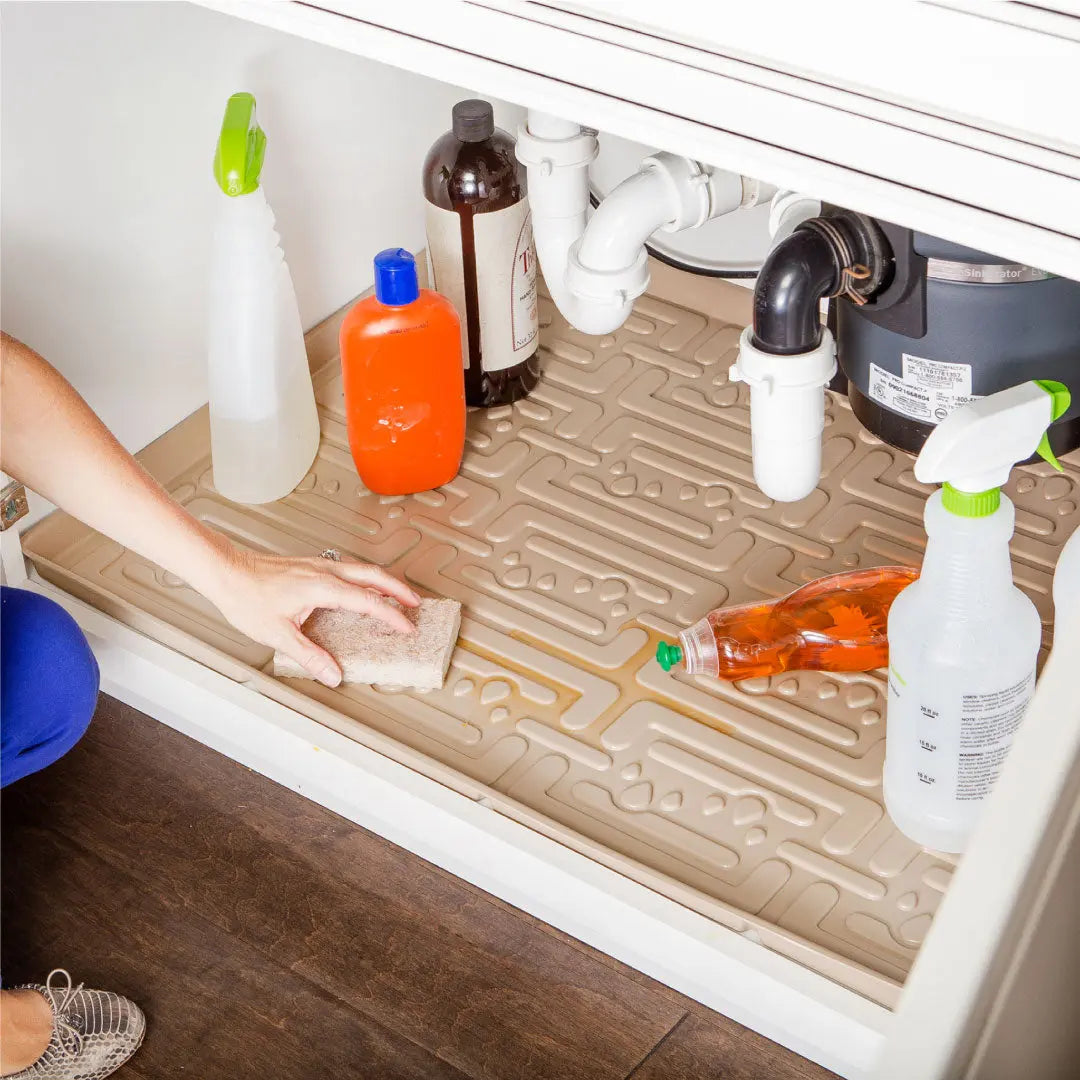
Once you've taken these steps to fix cabinet water damage, consider investing in a proper under sink cabinet mat, which can help prevent future damage by offering full cabinet coverage and even leak protection. For most homeowners, just having to fix cabinet water damage even once is enough motivation to make the investment in quality mats for under-sink spaces.
Share:
Under Sink Organization Ideas for Stress-Free Living
Your Practical Guide to Fixing Under-Sink Drain: Kitchen Drains, Sink Pipes and Shut Off Valves